Cook up a Storm with WinUI 3.0
Setting Up the Stage
Ever wished you could whip up an app as easily as a PB&J sandwich? Welcome to your kitchen - Visual Studio, and your ingredients - WinUI 3.0. Just like a kitchen, Visual Studio is where all the action happens, and WinUI 3.0 is the set of ingredients that you can mix and match to create a tasty app. Without knowing how to operate a kitchen or what ingredients you need, your cooking endeavors might result in charred toast instead of a sandwich. Similarly, understanding Visual Studio and WinUI 3.0 is critical to avoid building apps that feel like the digital equivalent of burnt toast.
Before we can start cooking, we need to stock up our kitchen. Just like how you can't cook without pots and pans, you can't build apps without the right software.
Downloading and Installing Visual Studio
Follow these steps to get your 'cooking tools':
- Visit the Visual Studio downloads page.
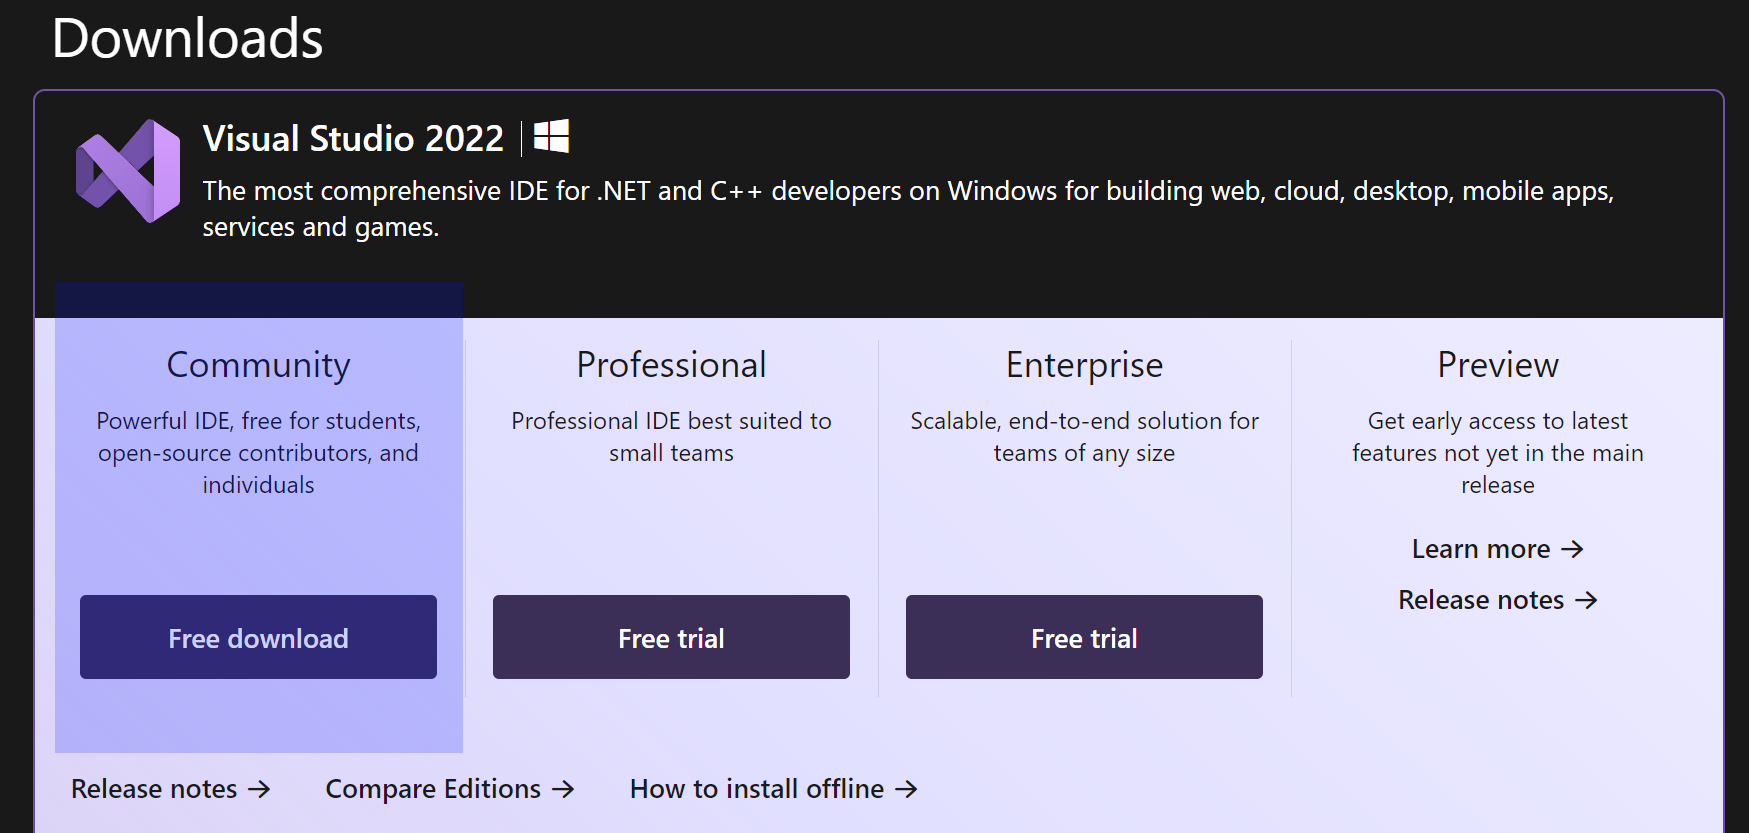
- At the time of writing, "Visual Studio 2022" is the newest version of the program. Select Community version for a free, fully-featured IDE for students, open-source and individual developers.
- Click on "Free download" and let the file download fully.
Now that we've got our tools, let's set them up. This is a bit like assembling a new blender - follow the instructions carefully, and you'll be making smoothies in no time!
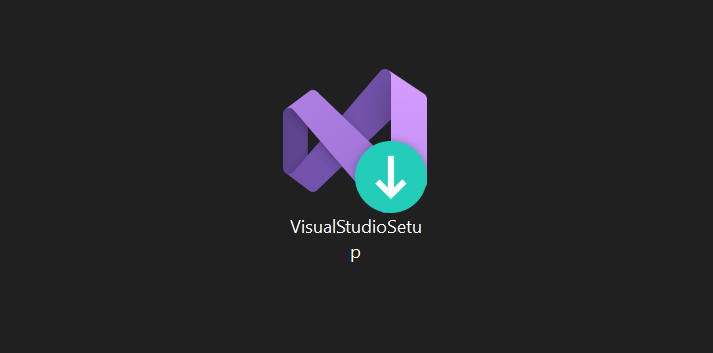
- Locate the Visual Studio installer file you downloaded and double-click it to begin installation.
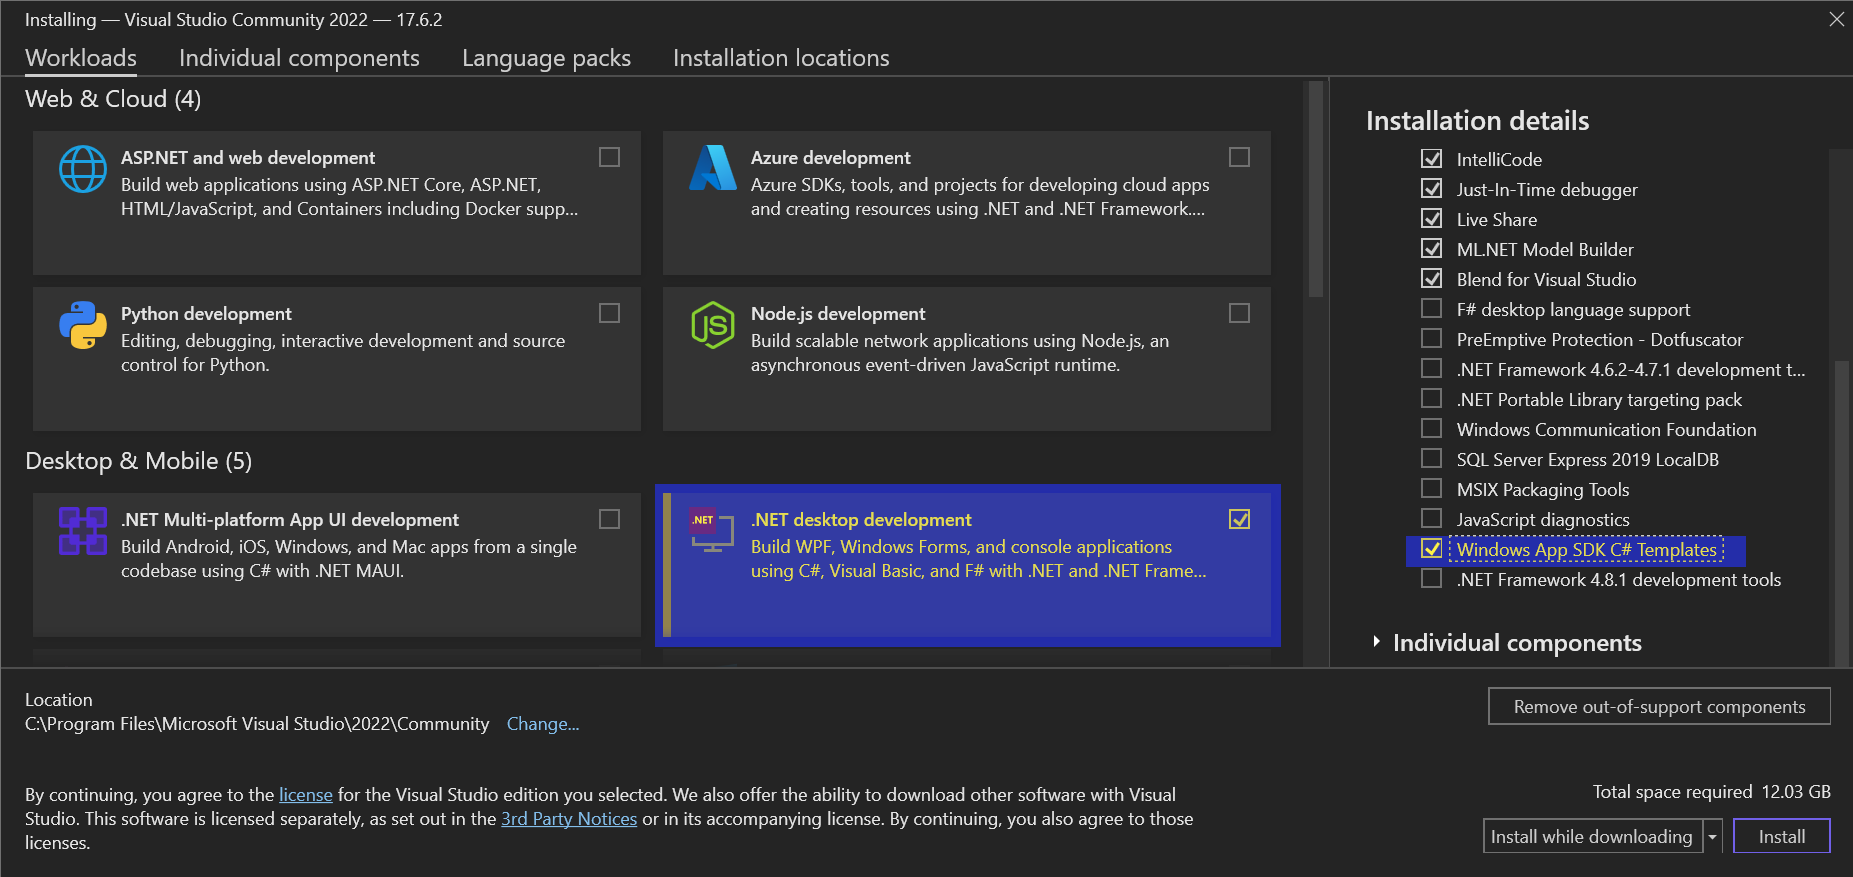
- When the installer prompts you, choose the ".NET desktop development" workload. After that, scroll down the "Installation details" list on the right, until you see "Windows App SDK C# Templates". Select this one as well.
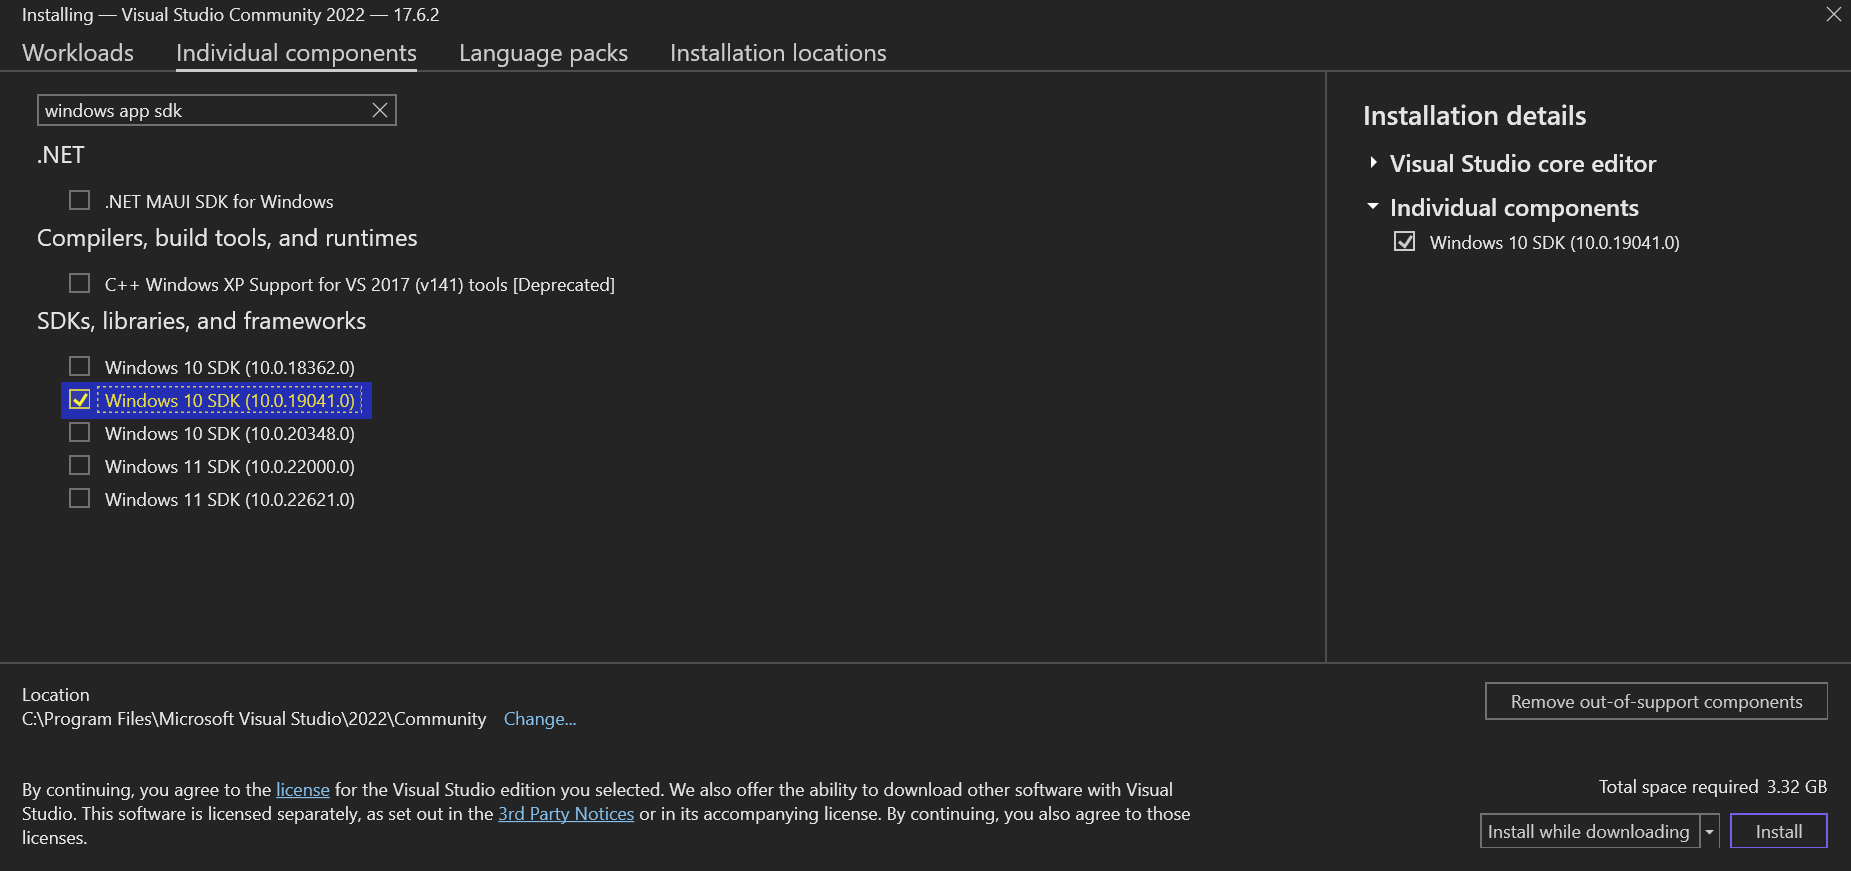
- Go to "Individual components" tab and search for "windows app sdk". Select the one that says "(10.0.19041.0)". This includes everything we need for our app development recipe.
- Click on "Install" at the bottom right. The installer will get to work, so sit back and enjoy a quick snack while you wait.
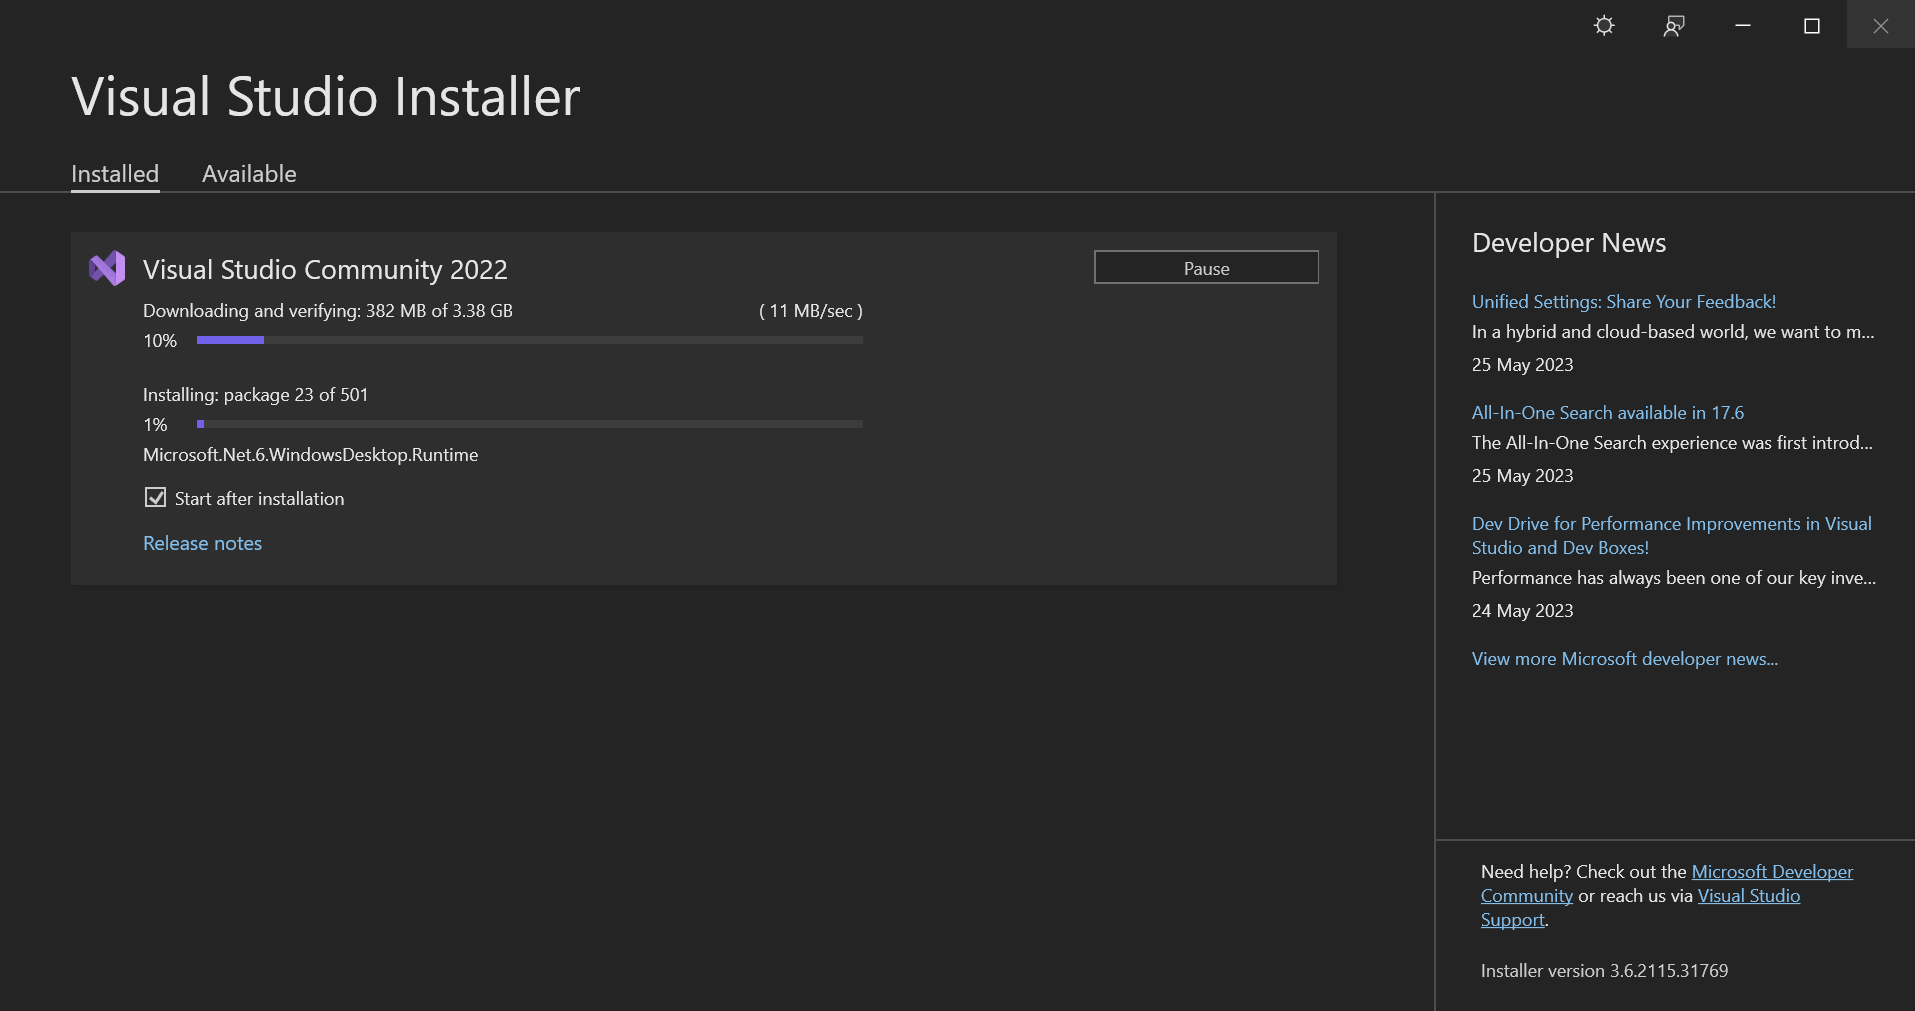
- (If you miss something, don't worry. You can always open up "Visual Studio Installer" from Start Menu and add the missing components to Visual Studio.)
- Once the download completes, Visual Studio opens and you'll be prompted to sign in. However, you can skip this for now.
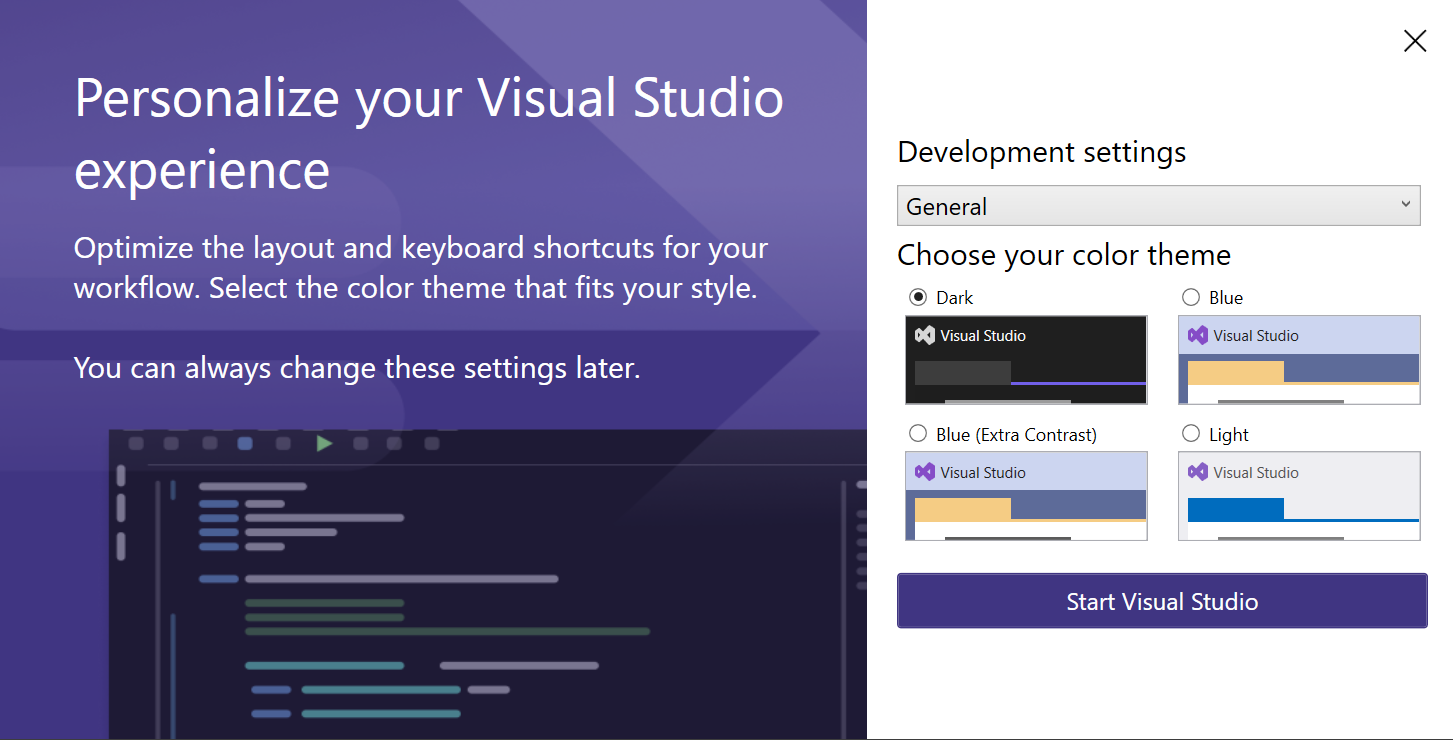
- Choose your color theme. Dark is often preferred to save your eyes. Then click Start Visual Studio.
Congratulations, your development kitchen is ready to go! Without setting up your tools correctly, it's like trying to fry an egg without a pan. It just won't work. Now, you're all set to start cooking up some tasty apps.
Creating a New Windows Application Project
Starting your journey into WinUI 3.0 and Visual Studio is as straightforward as creating a new project. Here are the steps:

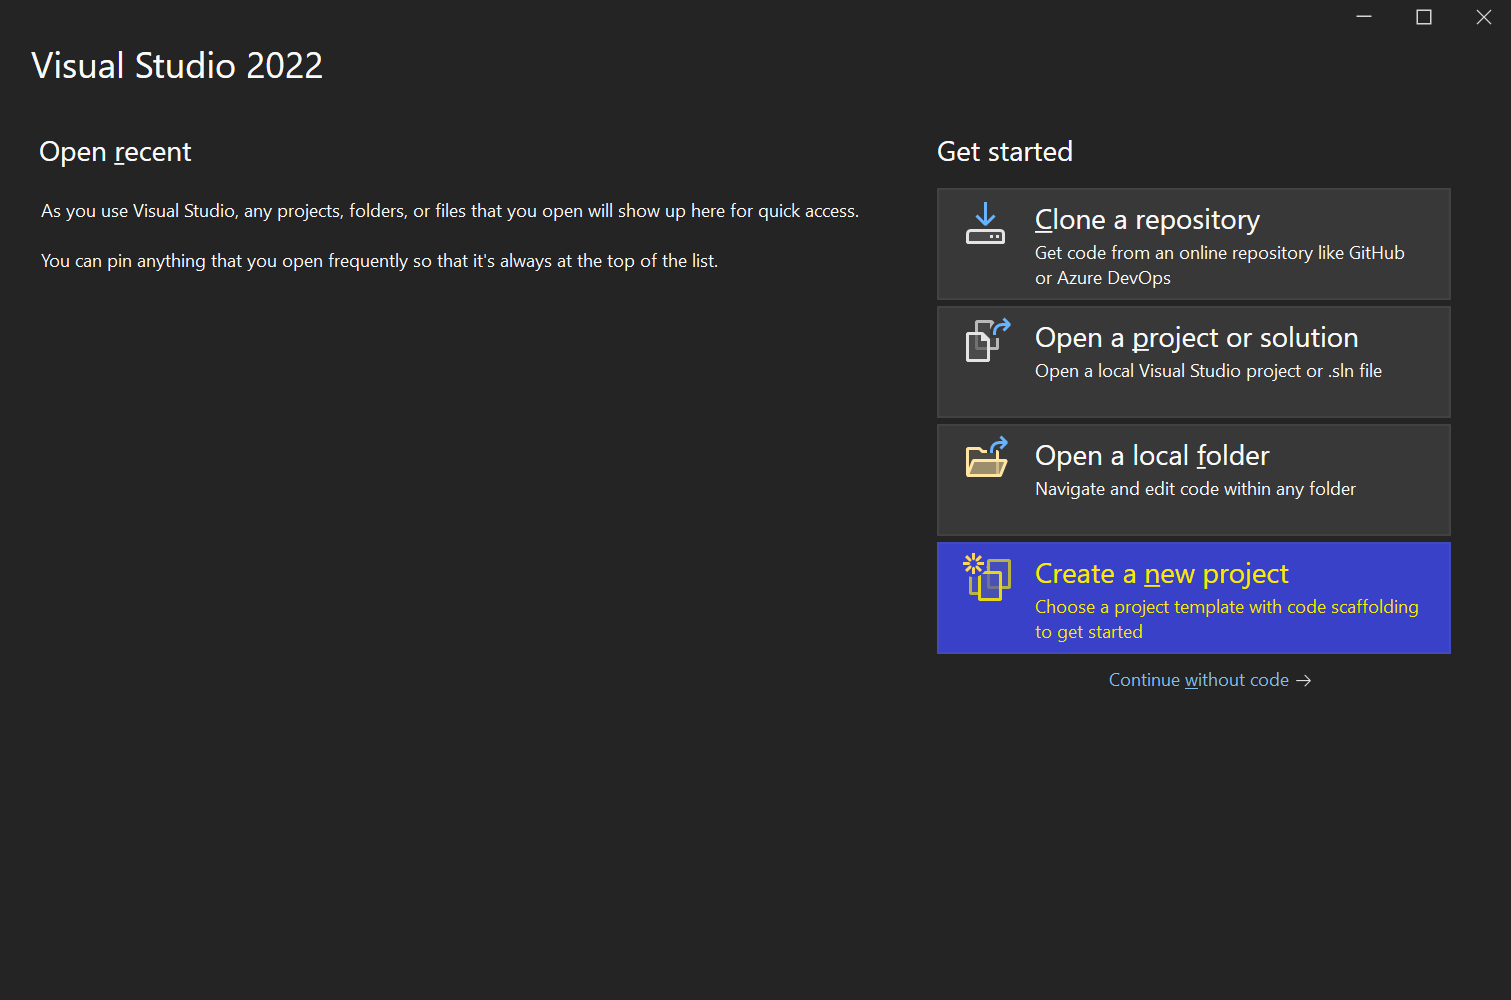
- Select "Create a new project".
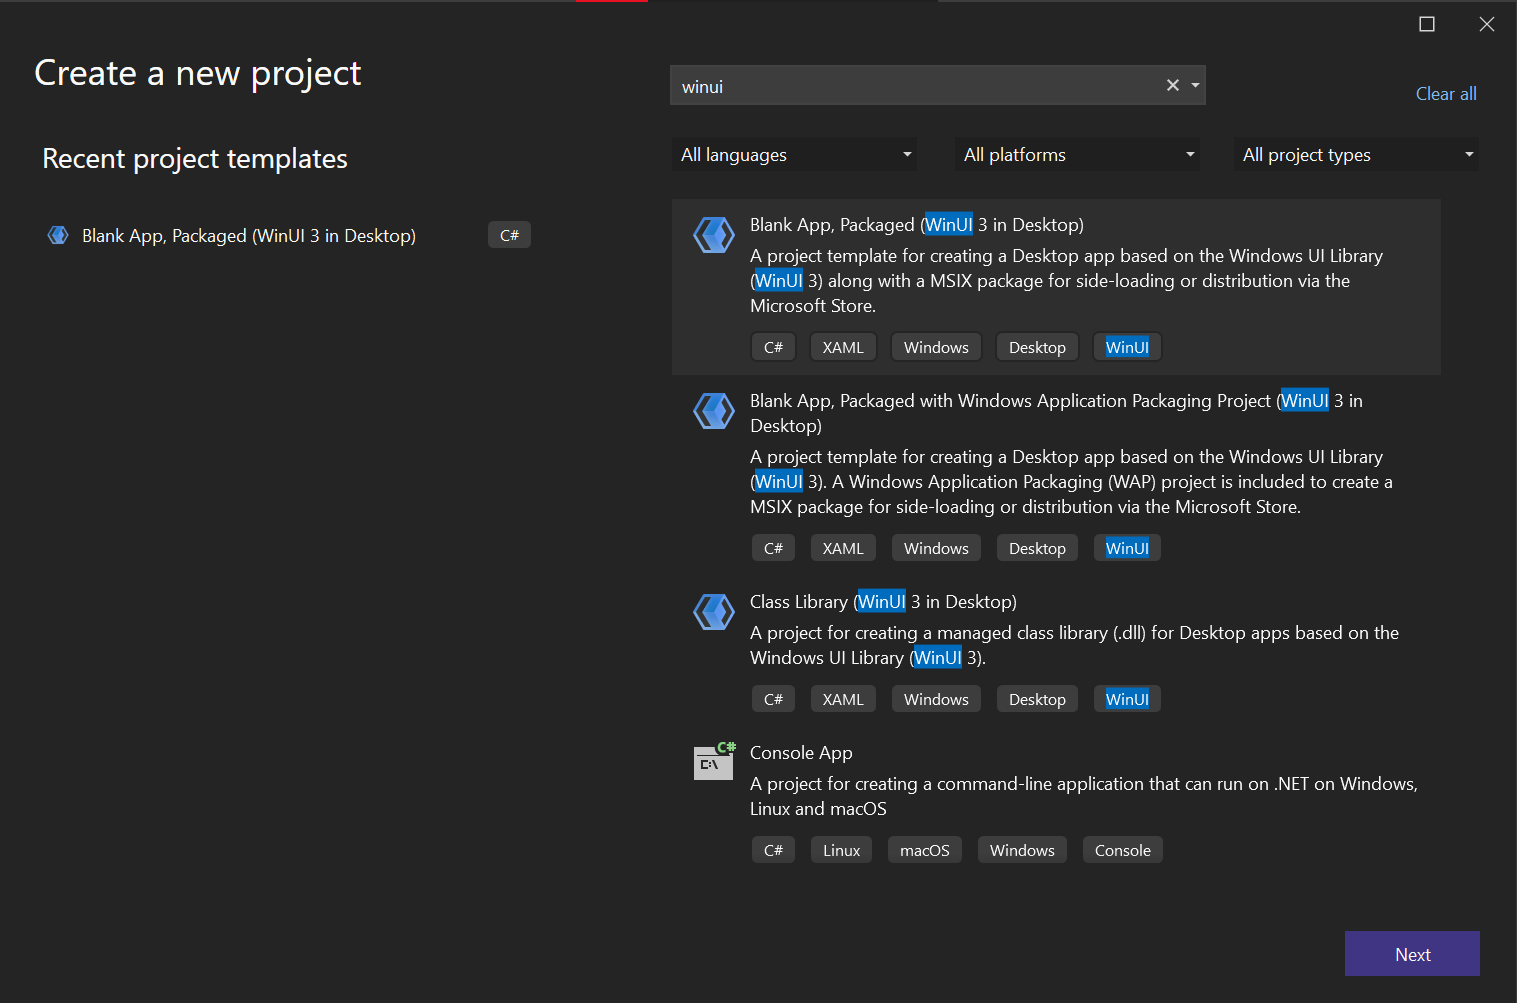
- In the project template search bar, type "winui" and select "Blank App, Packaged (WinUI 3 in Desktop)". Click on "Next".
- Give your project a meaningful name. This is what you'll see every time you work on your app, so choose wisely. You can go with "PlantNanny" for now.
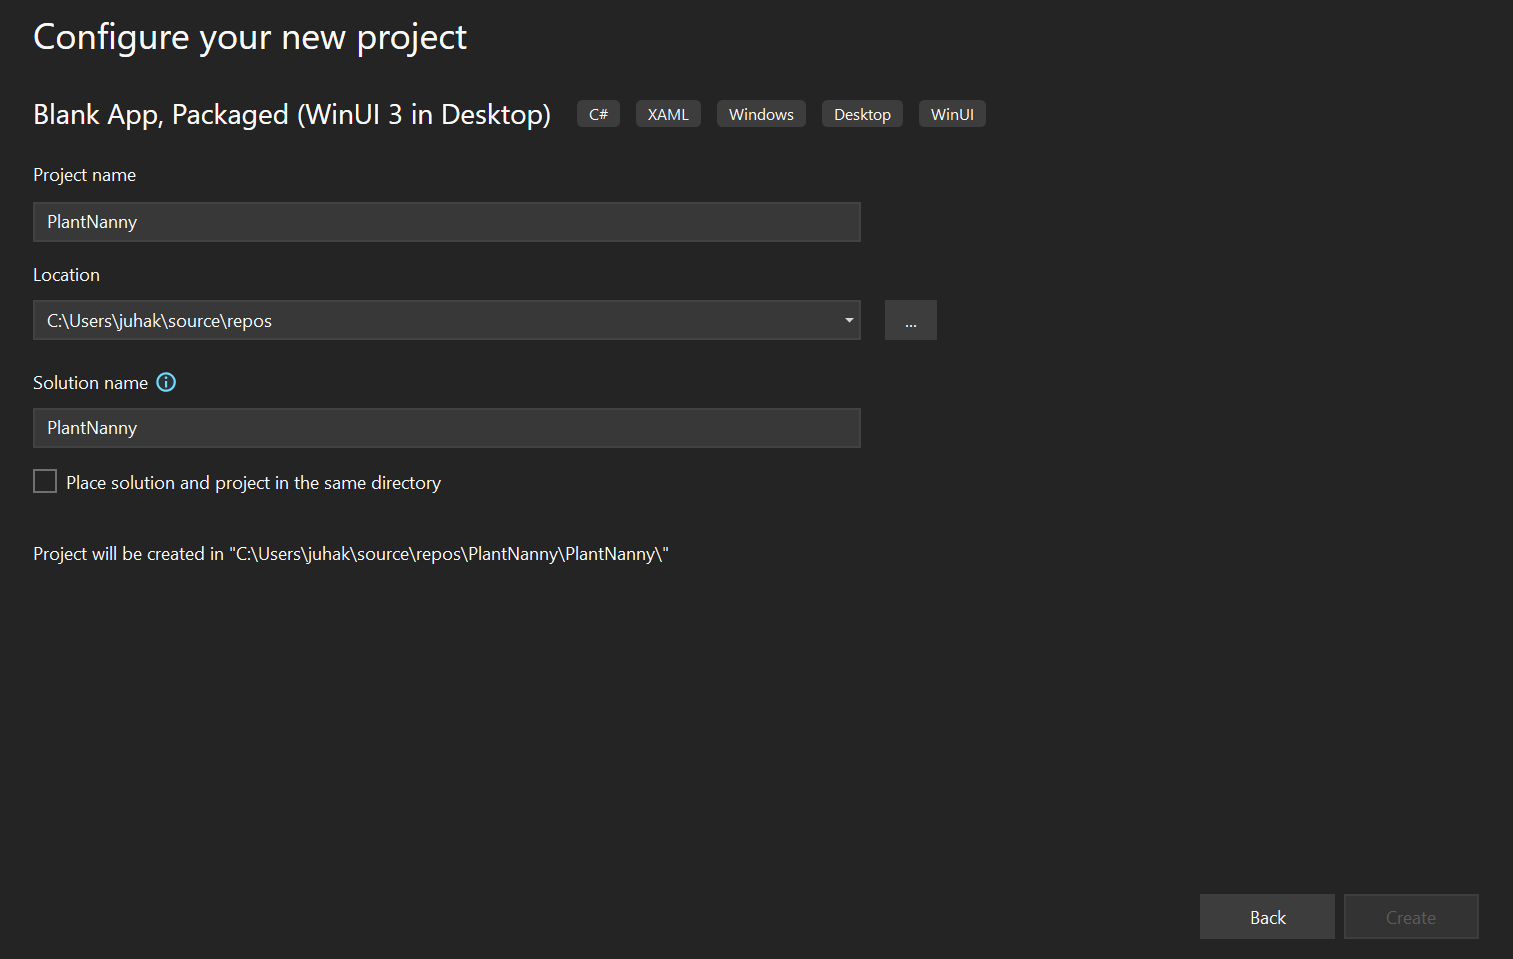
- Choose a location on your computer to save your project. It's like your project's home where it'll live and grow.
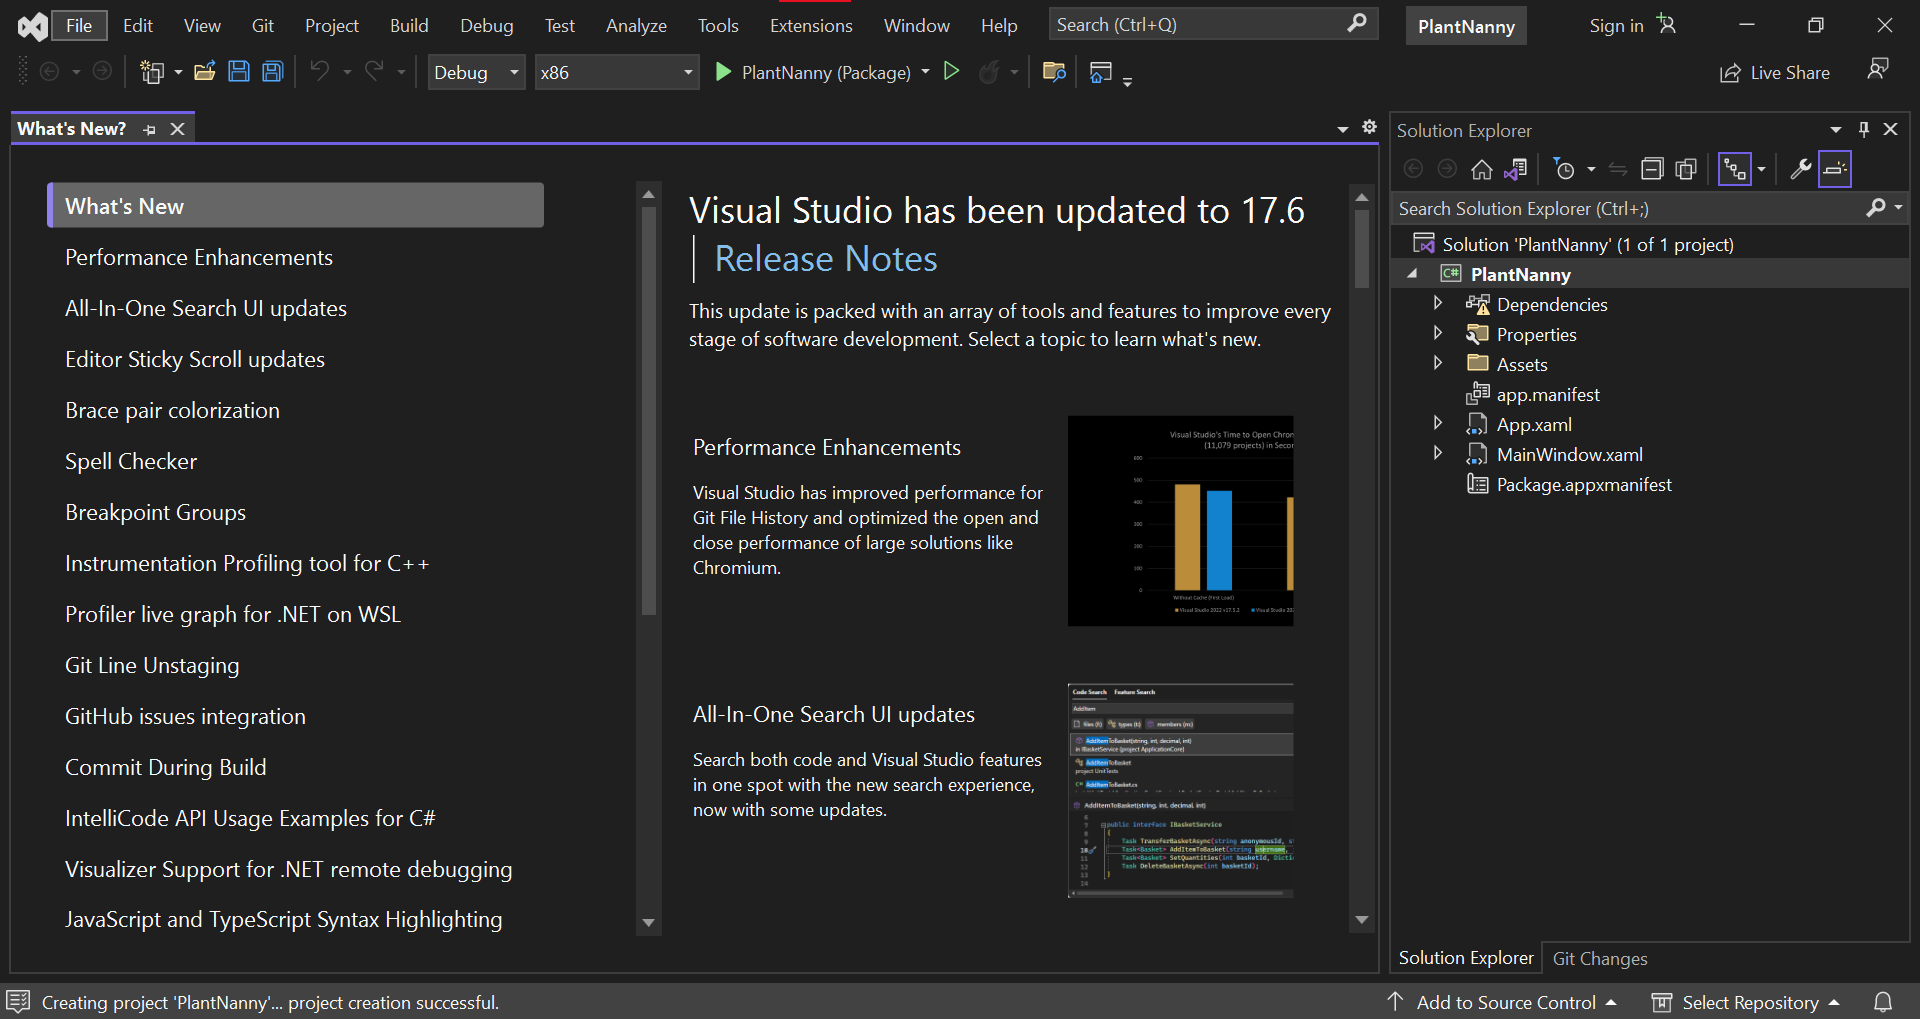
- Hit "Create" and you're all set! Feel free to close the "What's New?" tab that is open in the editor.
And that's it! You've successfully created your first Windows application project. It's like you've laid the foundation stone for your app's house, and now you're ready to start building the rest.
Plant Nanny v0.1: Personalizing The App
Let's start modifying our app. Consider this your first step towards building Bob's plant-watering assistant, the Plant Nanny. You wouldn't start cooking without a recipe, would you? In programming, it's the same. You always start with a plan. Our first step is to personalize the welcome message. Here's how:
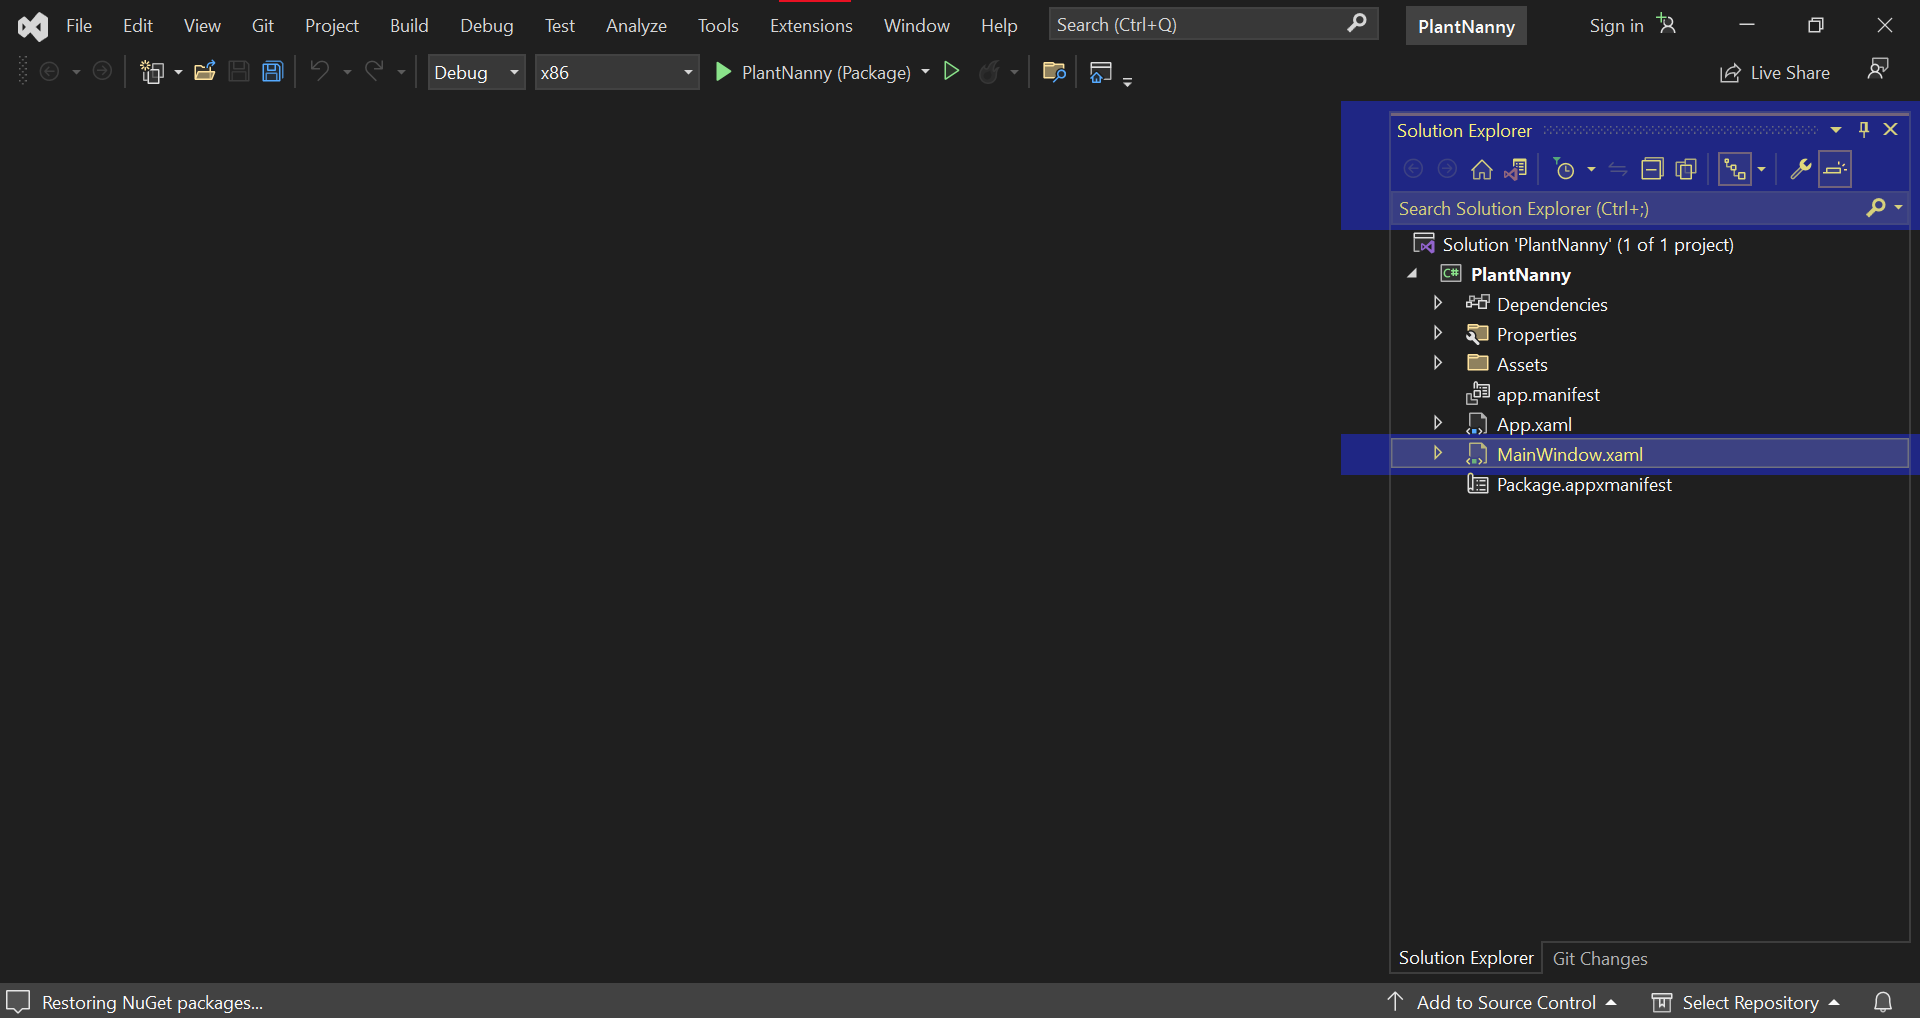
- Open the project you created in Visual Studio.
- In the "Solution Explorer" window (usually on the right), locate and double-click on MainPage.xaml. This opens the page design.
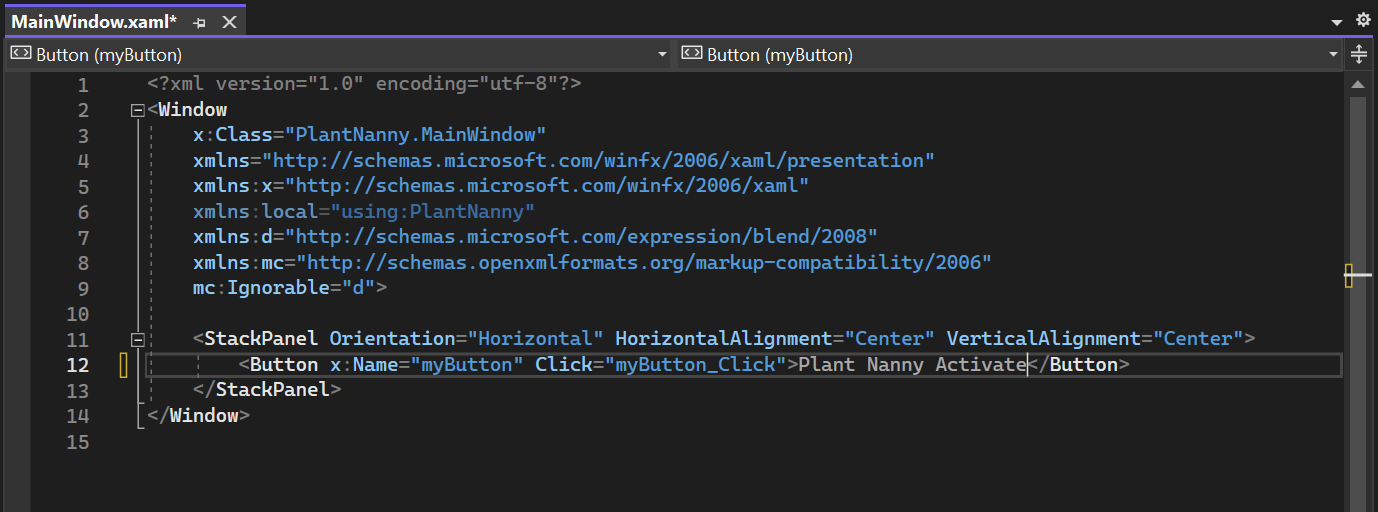
- In the MainPage.xaml tab, locate the line that says:
XAML
<Button x:Name="myButton" Click="myButton_Click">Click Me</Button> - You'll see some text between arrows pointing towards it saying "Click Me". Replace this with your personalized message. For example, "Plant Nanny Activate".
 XAML
XAML<Button x:Name="myButton" Click="myButton_Click">Plant Nanny Activate</Button> - Save your changes and press F5 to run the application. You'll see a button at the very center of the screen and if you push it, you might see the most incredible thing you've ever seen. But I've already revealed too much!
And there you have it! You've just taken the first step towards helping Bob out. Next up, we'll start adding features to help Bob keep track of his plant watering schedule.