DirectX Paint and WinUI 3.0
DirectX Paint
June 19th, 2023
I've always wanted to create my own painting software in the vein of Clip Studio Paint, Krita, and Photoshop (for the painting parts). It's relatively easy to create an application where you can just draw lines or bitmaps on the screen. But when you start working with canvas dimensions in the thousands of pixels, brushe sizes up to a thousand pixels, and tens or even hundreds of layers with different blending options, the additional rendering power of DirectX really helps.
This builds on top of the first 10 parts of the DirectX 11 tutorial, so be sure to check those out first.
Part 1: Setting up DirectX 11 Devices
And as a clarification, yes, we use Direct3D11 to do 2D textures in othographic view so we can utilize the power of shaders. There are other ways you could do alpha compositing, but this works for us.
Repurposing The Code
We can mostly repurpose what we have already. Here's what we can get rid of...
- The MainWindow sliders for x, y, z, and the related event code.
- LightPosition in the constant buffer, lightPosition vector, and all the different light variables.
- Normals and normal calculation, as we're not using lights.
- Assimp and the mesh. We can simplify whatever geometry we need to use.
Additionally, I'm renaming LoadModels to CreateResources, as that fits its purpose better.
Making The Ingredients
The cornerstone of a painting application is a brush. And in the sort of apps that a mentioned, the brushes are made out of bitmaps.
The bitmap itself is a grayscale image that controls the alpha values of the brush. White is transparent and black is opaque. You then apply a color on the bitmap (along with other settings) and you're painting! In 3D, we need to position the bitmap somewhere. It needs to have geometry, polygons, inside which we can apply it as a texture.
So, since our bitmap is going to be a square, let's define a couple of triangles to make up a quad where the texture can live. I'm replacing the old vertices and indices lists with global arrays to hold the data.
private Vertex[] vertexArray;
private uint[] indicesArray;

[StructLayout(LayoutKind.Sequential)]
public struct Vertex
{
	public Vector3 Position;
	public Vector2 UV;
}

private void CreateResources()
{
	vertexArray = new Vertex[]
	{
		new Vertex() { Position = new Vector3(-1.0f,  1.0f, 0.0f), UV = new Vector2(0.0f, 0.0f) },
		new Vertex() { Position = new Vector3(1.0f,  1.0f, 0.0f), UV = new Vector2(1.0f, 0.0f) },
		new Vertex() { Position = new Vector3(1.0f, -1.0f, 0.0f), UV = new Vector2(1.0f, 1.0f) },
		new Vertex() { Position = new Vector3(-1.0f, -1.0f, 0.0f), UV = new Vector2(0.0f, 1.0f) }
	};

	indicesArray = new uint[]
	{
		0, 1, 2,
		0, 2, 3
	};
	...
}
The Vertex struct is repurposed to hold UV data instead of the Normal. Position is still the same. But the UV is something new, since we didn't cover textures before this.
UV is the standard coordinate system for textures. It's like X and Y, but since the geometry uses those, it's clearer to call them U and V, instead.
So, the Vector2 holds floats for each axis and the coordinates are mapped to the very corners of the quad, (0.0f, 0.0f) being top left and (1.0f, 1.0f) bottom right.
Since we're using two triangles to make up our quad, we define six indices (three for each) in the indicesArray.
Let's update the input elements to match our vertex structure.
InputElementDescription[] inputElements = new InputElementDescription[]
{
	new InputElementDescription("POSITION", 0, Format.R32G32B32_Float, 0, 0),
	new InputElementDescription("TEXCOORD", 0, Format.R32G32_Float, 12, 0)
};
To create the buffers using these arrays, we keep the method pretty much intact. Just get rid of the redifinitions of the arrays and the loop where the indices are extracted from the faces of the mesh (that now doesn't exist).
Additionally, you can set the DrawIndexed command to use the indices array instead.
deviceContext.DrawIndexed(indicesArray.Length, 0, 0);Loading a Bitmap
Let's get to the real business at hand. We need a way to load a bitmap file and pass it to a 2D texture.
To use the Bitmap and Rectangle types, we'll need to install System.Drawing.Common. You can do this from the quick actions. The BitmapData is in the Imaging namespace.
public static (byte[], int, int) LoadBitmapData(string filePath)
{
	Bitmap bitmap = new Bitmap(filePath);
	Rectangle rect = new Rectangle(0, 0, bitmap.Width, bitmap.Height);
	BitmapData bmpData = bitmap.LockBits(rect, ImageLockMode.ReadOnly, bitmap.PixelFormat);

	// Stuff happens

	bitmap.UnlockBits(bmpData);
}Bitmap(filePath)creates a new Bitmap object by loading an image file specified by the filePath parameter. This allows you to work with the image data in the code.Rectangle(0, 0, bitmap.Width, bitmap.Height)creates a Rectangle object that defines the entire area of the image, from (0, 0) to the width and height of the bitmap. This rectangle will be used to specify the region of interest for certain operations.bitmap.LockBits(rect, ImageLockMode.ReadOnly, bitmap.PixelFormat)locks the bitmap data, allowing direct access to the pixel values. The LockBits method takes the rect parameter to specify the area of the bitmap to lock, ImageLockMode.ReadOnly to indicate that the data will not be modified, and bitmap.PixelFormat to specify the format of the pixel data.bitmap.UnlockBits(bmpData)code unlocks the bitmap data, releasing the lock that was acquired earlier. This allows the image to be accessed and modified by other parts of the code or other threads.
So, what's the stuff that happens after we lock the bitmap data?
int numBytes = bmpData.Stride * bitmap.Height;
byte[] byteValues = new byte[numBytes];
System.Runtime.InteropServices.Marshal.Copy(bmpData.Scan0, byteValues, 0, numBytes);
bmpData.Stride * bitmap.Heightcalculates the total number of bytes required to store the pixel data of the bitmap. TheStrideproperty represents the number of bytes occupied by each row of the bitmap, andbitmap.Heightgives the number of rows in the bitmap. Multiplying these values gives the total number of bytes needed to store all the pixel data.byte[numBytes]creates a new byte array named byteValues with a length equal to the calculated number of bytes. This array will be used to store the pixel data of the bitmap.Marshal.Copy(bmpData.Scan0, byteValues, 0, numBytes)copies the pixel data from the locked BitmapData object to the byteValues array. TheMarshal.Copymethod is used to perform the copying operation. It takes the source (bmpData.Scan0- a pointer to the start of the bitmap data), the destination (byteValues - the byte array), the starting index in the destination array (0), and the number of bytes to copy (numBytes).
After the bmpData is unlocked, we can return the byteValues, along with other things.
return (byteValues, bitmap.Width, bmpData.Stride);So, as the return type of the method suggest, we're passing a tuple containing three values that we need in order to create the 2D texture.
With the method ready, let's head to CreateResources and give it a spin.
string bitmapFile = Path.Combine(AppContext.BaseDirectory, "BrushRGBA.png");
(byte[] bitmapData, int bitmapWidth, int bitmapStride) = LoadBitmapData(bitmapFile);
int bitmapHeight = bitmapData.Length / bitmapStride;
Since we can get the length of the bitmapData byte array and we know that the stride is the length of each line of pixels in a bitmap, we can calculate the height of the bitmap by dividing the two.
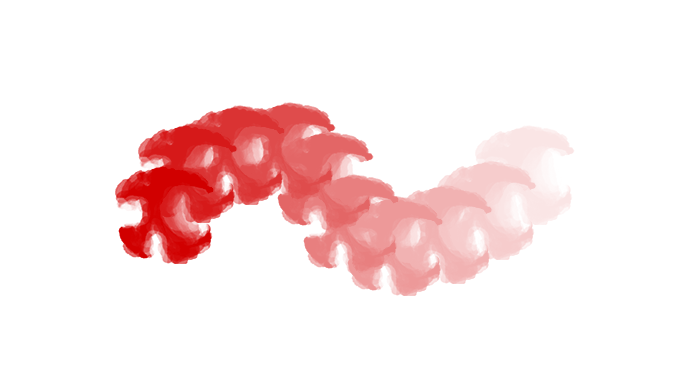
But what about the PNG file? Naturally, you can use your own file, but I created something specifically for testing purposes. The idea was to make something that definitely has alpha values, is the right format, and makes it clear which way it is oriented.
BrushRGBA.png (9 KB)
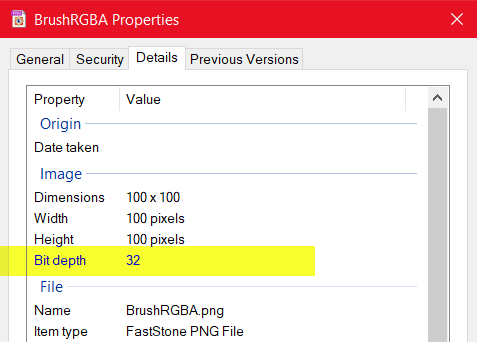
Regarding the format, if you want to make your own brush, you need to make sure that it has a bit depth of 32 bits per pixel (RGBA).
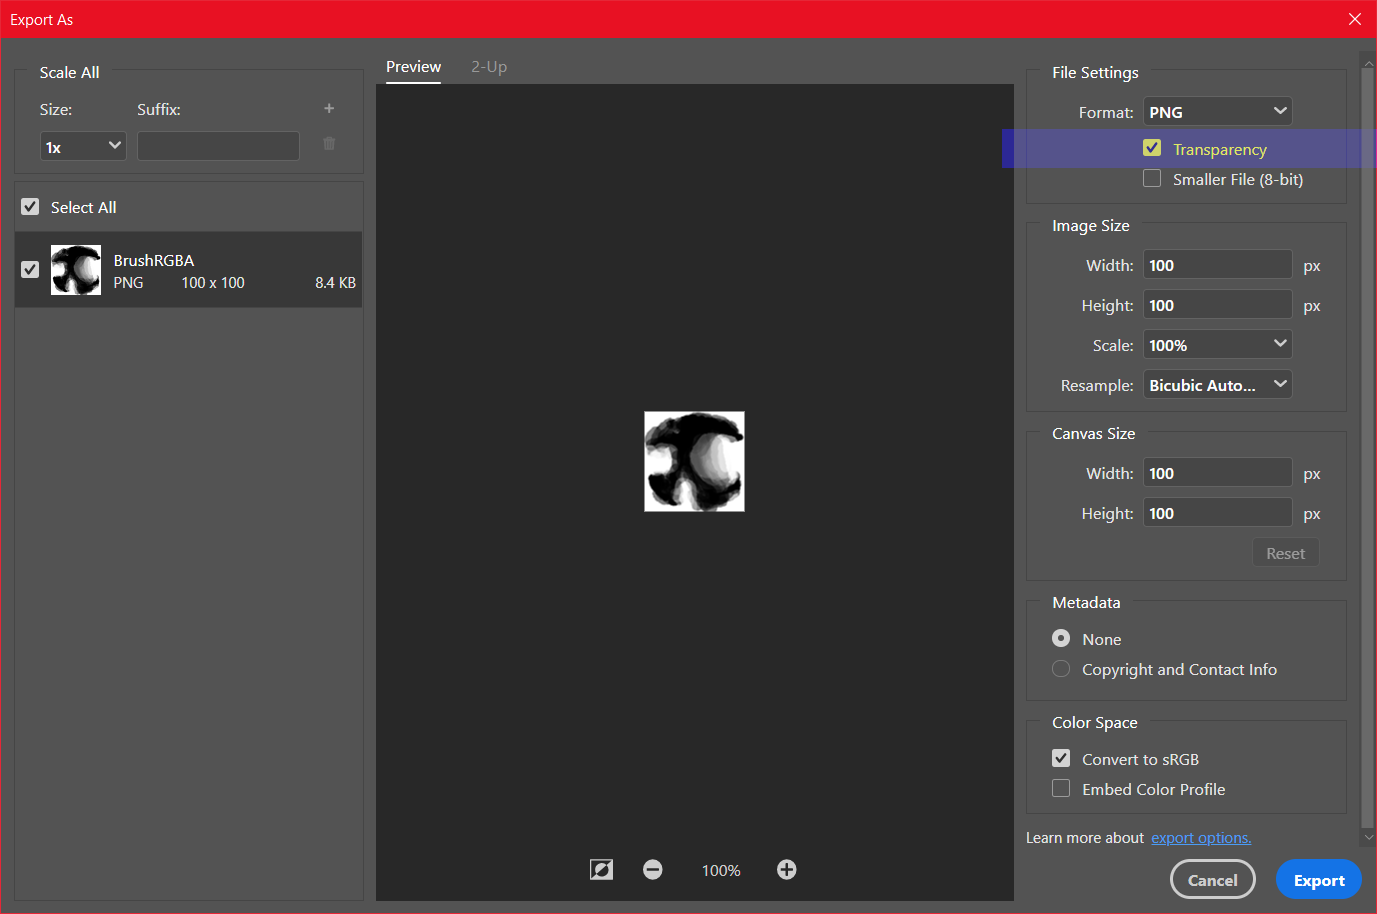
This could prove to be challenging, because for example Photoshop didn't want to save a version of the PNG file with an alpha channel, if there weren't any pixels utilizing the alpha in the image. I kept getting 24bpp versions of it. But, using the Export As function allows you to set the transparency even for a solid black-and-white image.
The correct bit depth is important when we turn the bitmap into a 2D texture. The format needs to be correct, because reading the data wrong can make the end result stretched or squished. Of course, you can write yourself a helper method and write pure white in an additional channel for each pixel if the file happens to be 24bpp (8 bits per channel, so RGB).
When you create an array in .NET, even if it's an unmanaged type like byte, the .NET runtime wraps it in a managed object. It gives you a nice, safe handle to work with, but behind the scenes it's still controlling things. It can move that array around in memory as it sees fit, for example, during a garbage collection.
So, now that we have the bitmap data in a byte array, we gotta take it one step further and call Marshal.AllocHGlobal to make it something that Direct3D can read from and not have to worry about .NET runtime pulling the rug out from under it.
IntPtr dataPointer = Marshal.AllocHGlobal(bitmapData.Length);
Marshal.Copy(bitmapData, 0, dataPointer, bitmapData.Length);
SubresourceData subresourceData = new SubresourceData(dataPointer, bitmapStride, bitmapData.Length);Marshal.AllocHGlobal(bitmapData.Length)allocates unmanaged memory. The size of the allocated memory is determined bybitmapData.Length, which represents the length of thebitmapDatabyte array. The method returns anIntPtrthat represents a pointer to the allocated memory.Marshal.Copy(bitmapData, 0, dataPointer, bitmapData.Length)copies the pixel data from thebitmapDatabyte array to the allocated unmanaged memory. TheMarshal.Copymethod is used to perform the copying operation. It takes the source (bitmapData), the starting index in the source array (0), the destination (dataPointer), and the number of bytes to copy (bitmapData.Length).SubresourceData(dataPointer, bitmapStride, bitmapData.Length)creates a newSubresourceDataobject, which typically represents a resource (such as a texture) in graphics programming. TheSubresourceDataconstructor is used to initialize the object with the necessary parameters:dataPointer(the pointer to the pixel data in unmanaged memory),bitmapStride(the stride or bytes per row of the pixel data), andbitmapData.Length(the size of the pixel data in bytes).
Now that we have all that setup out of the way, we can start creating a 2D texture in the next article.
Visual Studio project:
(Updated in next part)